FSI Getting Started & How to Use

This guide explains onboarding and role-based workflows for employees, supervisors, final approvers, and finance users in the FSI Expense Reporting application. Every step below is shown with a screenshot of the actual screen.

1. General Getting Started

Initial Login: Go to /login and sign in with your corporate credentials. If your organization uses Microsoft Entra single sign-on, use the SSO option instead; SSO is restricted to @freightservices.net accounts.
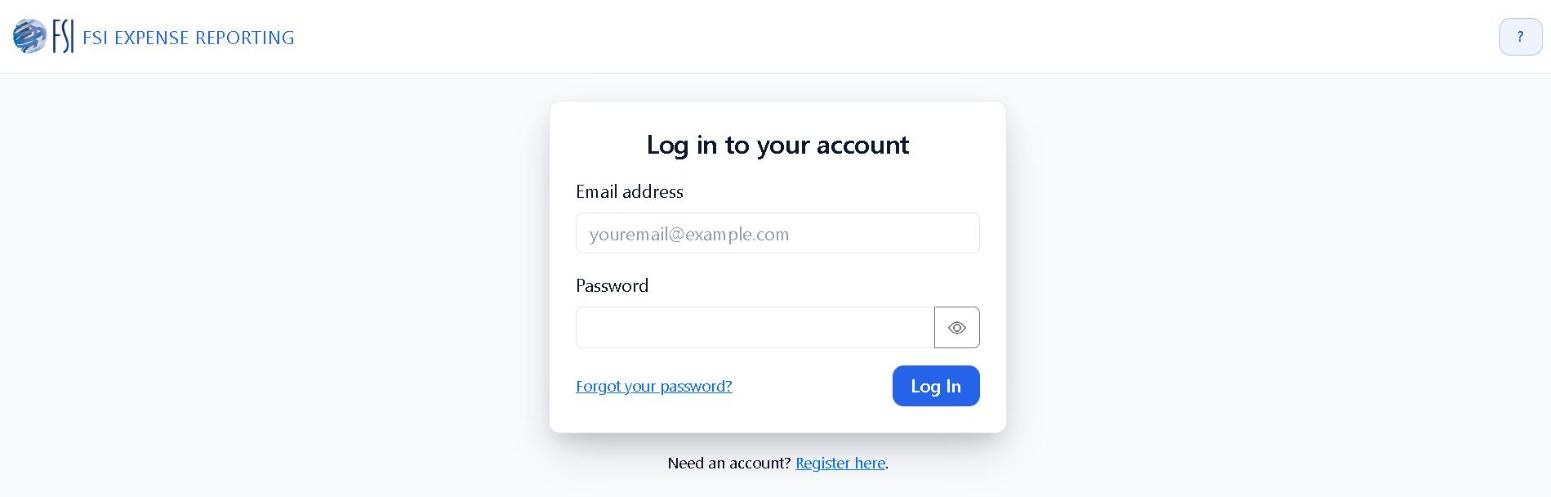
The sign-in screen. Use “Forgot your password?” to start a reset, or “Register here” if you do not yet have an account.
The sign-in screen. Use “Forgot your password?” to start a reset, or “Register here” if you do not yet have an account. Select the image to view it full size.

Account Approval: A new account cannot submit or review anything until an administrator approves it. Until then the account shows as not approved and the submission screens stay out of reach. Employees and supervisors are subject to this gate; finance and final approvers are not.
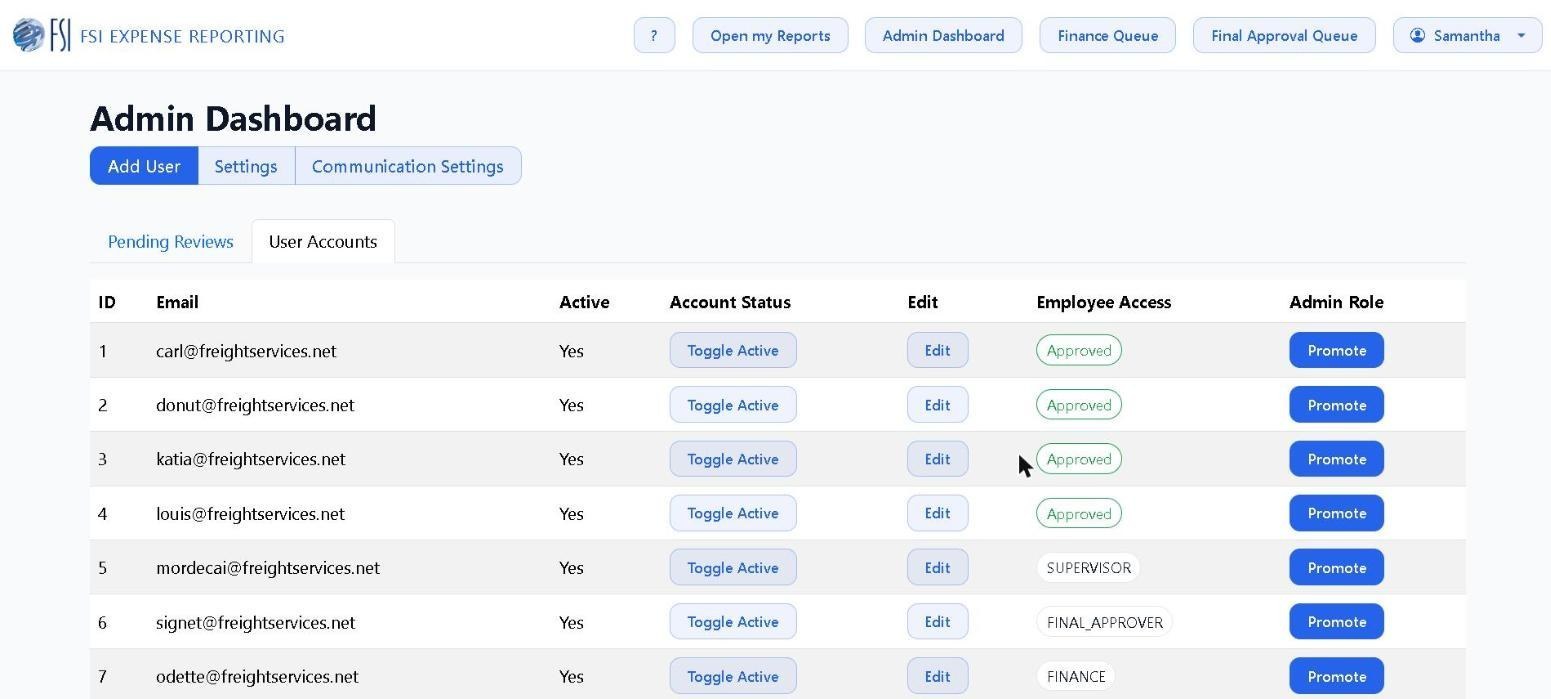
How an administrator sees accounts. The Employee Access column shows whether onboarding approval has been granted, and Toggle Active controls whether the account can sign in at all.
How an administrator sees accounts. The Employee Access column shows whether onboarding approval has been granted, and Toggle Active controls whether the account can sign in at all. Select the image to view it full size.

Account Menu: The account dropdown at the right of the navigation bar is where you reach your profile, start a password reset, and sign out.

The account dropdown, showing who you are signed in as along with links to account settings, password reset, and sign out.
The account dropdown, showing who you are signed in as along with links to account settings, password reset, and sign out. Select the image to view it full size.

Profile and Theme: Keep your name, email, and phone current so approval reminders reach you. Theme preferences also live here: the app can follow your operating system setting or use a manual dark-mode override.
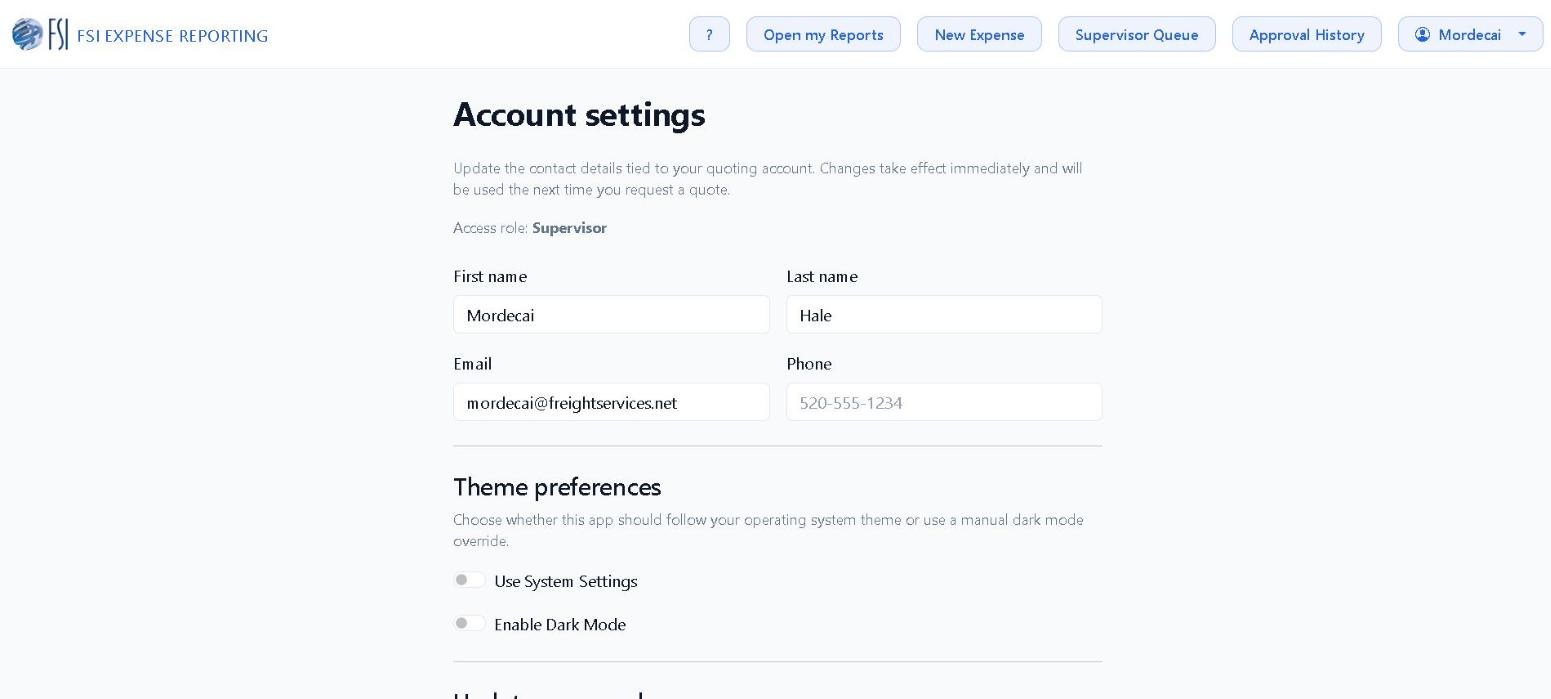
Account settings. Contact details sit at the top, your access role is shown for reference, and Theme preferences control system-follow versus manual dark mode.
Account settings. Contact details sit at the top, your access role is shown for reference, and Theme preferences control system-follow versus manual dark mode. Select the image to view it full size.

2. Employee User Guide

Your Reports Dashboard: My Expense Reports is your home screen. It lists every report you have created with its current status, the week it was submitted, and your assigned supervisor. Only DRAFT and SUBMITTED reports can still be edited.
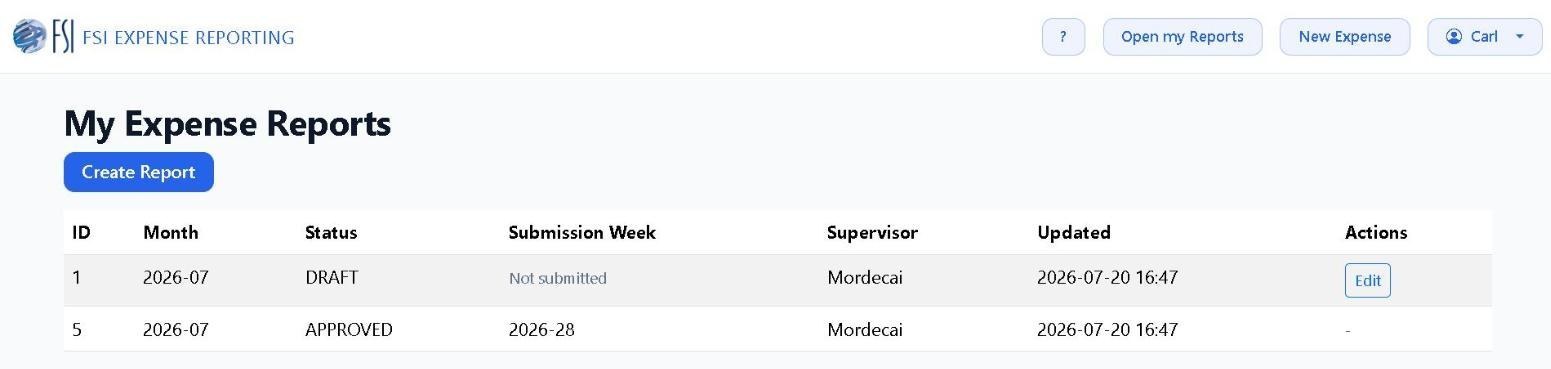
My Expense Reports. An editable draft sits alongside a report that has already been approved; the Actions column only offers Edit while a report is still editable.
My Expense Reports. An editable draft sits alongside a report that has already been approved; the Actions column only offers Edit while a report is still editable. Select the image to view it full size.

Create and Submit a Report: Choose the report month and your supervisor, add a business justification, then add one line per expense with its date, description, vendor, amount, and receipt. Save Draft keeps the report private and editable. Submit for Review sends it to your supervisor's queue.
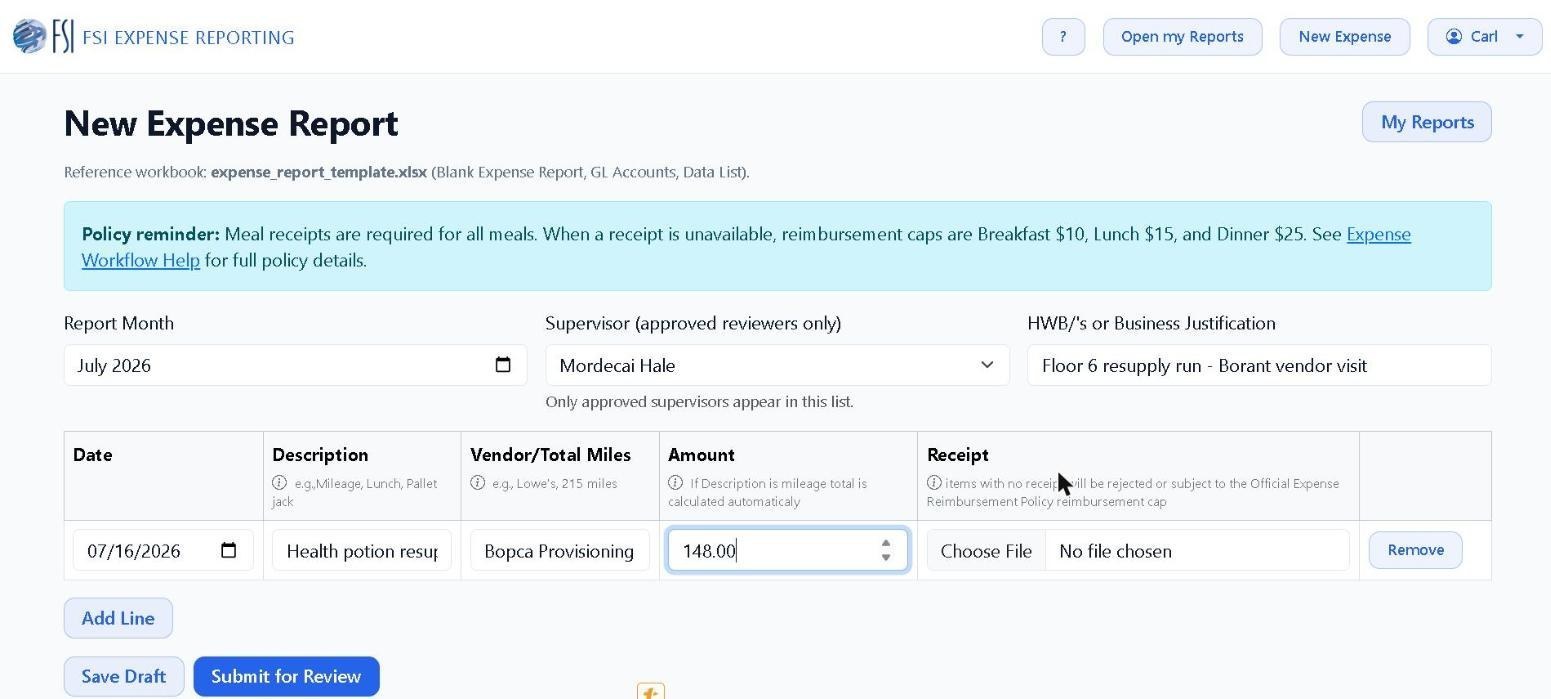
The New Expense Report form. The policy reminder banner states the receipt rules and the meal caps that apply when a receipt is unavailable — read it before submitting.
The New Expense Report form. The policy reminder banner states the receipt rules and the meal caps that apply when a receipt is unavailable — read it before submitting. Select the image to view it full size.

If a Report Comes Back: A reviewer who rejects a line must leave a comment explaining why. The report returns to you as REJECTED with those notes attached. Correct the flagged lines, attach anything that was missing, and submit again.
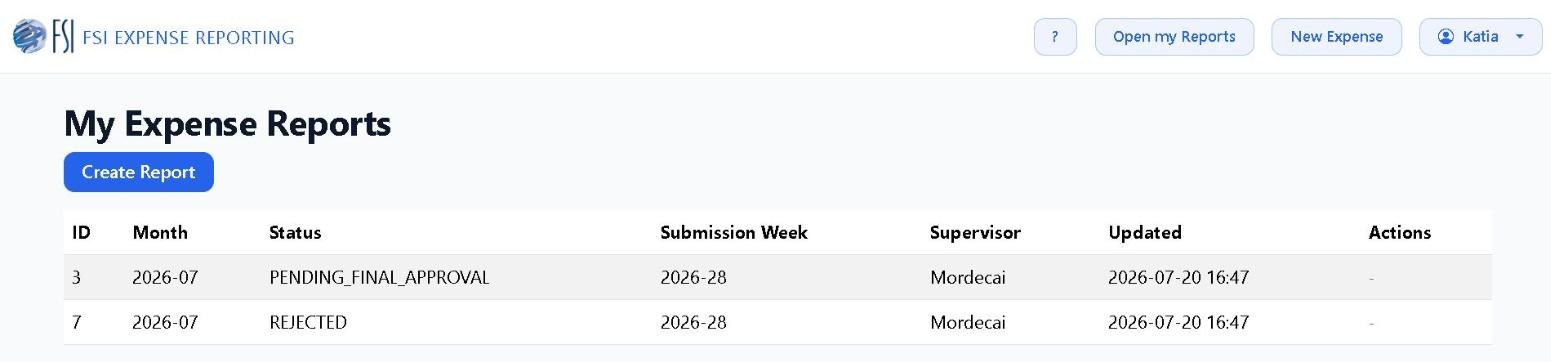
A rejected report shown next to one still moving through approval, so you can tell at a glance which report needs your attention.
A rejected report shown next to one still moving through approval, so you can tell at a glance which report needs your attention. Select the image to view it full size.

3. Help & Support

Select the ? icon in the navigation bar at any time to return to the Help Center, which covers report submission, supervisor review, approvals and statuses, finance and export, receipts, and account management in more detail.

Back to Help Center